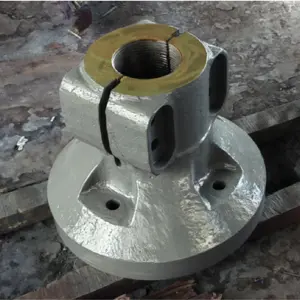
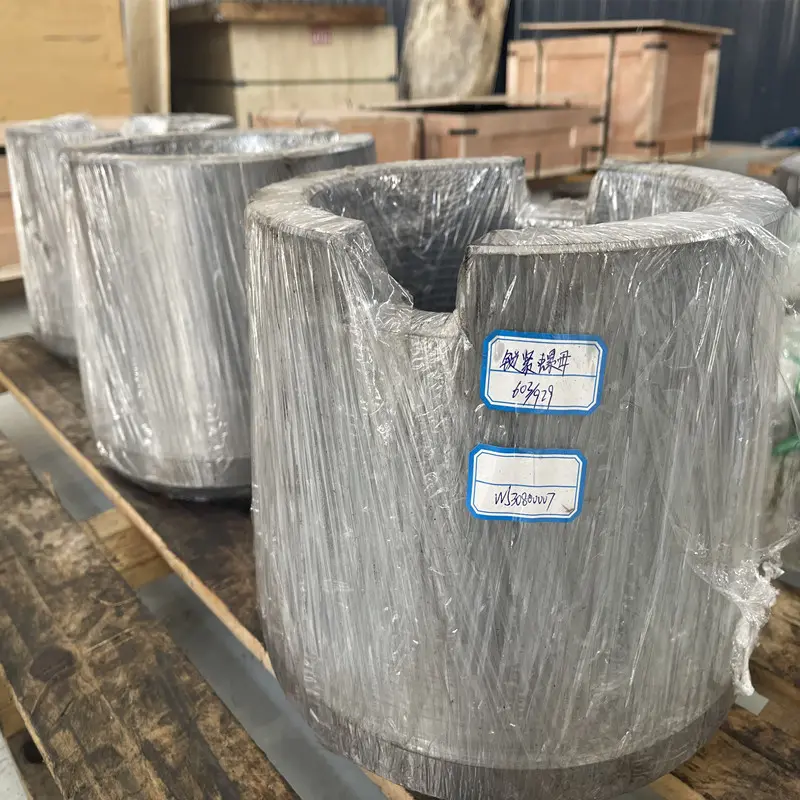
In the field of heavy machinery and equipment, the mantle nut, as the core locking component of the crusher, its performance directly affects the stability and service life of the entire machine’s operation. For purchasing decision-makers, how to scientifically verify the thread accuracy and material strength of mantle nuts is a key link to ensure the long-term efficient operation of equipment. This article will delve deeply into the standardized verification methods of these two core indicators.
First, a multi-dimensional detection system for thread accuracy
Thread accuracy is far from being as simple as “whether it can be screwed in”. It involves fit clearance, stress distribution and anti-loosening ability. Professional verification should cover the following dimensions:
The passability verification of thread plug gauges and ring gauges
The general gauge should be able to be smoothly screwed in and pass through the entire thread length, demonstrating the basic feasibility of assembly. The stop gauge must be stopped when no more than 2 pitches are screwed in to ensure that the upper limit of the thread pitch is controlled. This qualitative testing is the fundamental means for the production line to quickly determine whether it is qualified or not.
Microscopic mapping with an optical profilometer
By using non-contact optical measurement equipment, a three-dimensional model of the thread profile can be generated, and parameters such as the tooth profile Angle, cumulative pitch error, and the radius of the tooth tip arc can be accurately calculated. For instance, by comparing the actual profile with the standard CAD model, it is possible to visually identify tooth profile distortion (commonly seen in heat treatment deformation), as this microscopic defect can significantly accelerate thread wear.
Global accuracy analysis of contact three-coordinate measuring machines
For super-long thread pairs (such as mantle nuts over 500mm), contact type three-coordinate measuring machines should be used for equal division sampling. By constructing a virtual thread axis and calculating the radial deviation of each measurement point relative to the theoretical position, the periodic error of pitch can be effectively diagnosed – this kind of error can cause stress concentration at specific positions and trigger early fatigue fracture.
Second, the stratified verification strategy for material strength
Material strength verification needs to be carried out from three aspects: chemical composition, macroscopic mechanical properties and microscopic metallographic structure.
Component access control in spectral analysis
Use portable spectrometers to conduct rapid component screening of raw materials, with a focus on monitoring the content of carbon equivalent (CEV) and harmful elements such as sulfur and phosphorus. For instance, when the CEV exceeds the specified range, it will significantly affect the material’s weldability and hardenability, and is prone to cracking under working conditions with large temperature differences.
Systematic testing of mechanical properties
Tensile test: Not only the tensile strength and yield strength should be focused on, but also the elongation after fracture should be recorded. An excessively low elongation rate (such as <12%) indicates a tendency for the material to become brittle, and it is prone to brittle fracture under impact loads.
Impact toughness: Charpy V-notch impact tests are conducted at a low temperature of -20℃ to verify the material’s resistance to brittle fracture under severe cold conditions. It is recommended to sample at least three groups, and take the average value after eliminating discrete values.
Hardness gradient: Test Brinell hardness at intervals of 2mm from the center of the thread surface and draw the hardness distribution curve. The ideal curve should present a smooth transition. If the surface hardness drops sharply, it indicates an insufficient hardened layer, while if the core hardness is too high, it suggests an abnormal heat treatment process.
In-depth analysis of metallographic structures
Prepare longitudinal cross-section metallographic specimens, and observe them after polishing and etching:
Grain size: Evaluated in accordance with ASTM E112 standard, fine-grained structure (usually required to be above grade 6) can simultaneously enhance strength and toughness.
Inclusion distribution: The morphology, size and distribution of oxide and sulfide inclusions were analyzed by scanning electron microscopy, with particular attention paid to the content of D-type spherical oxides. Such inclusions can become fatigue crack sources under alternating stress.
Hardened layer identification: For surface-hardened components, the depth of the full martensitic structure should be measured to ensure that the effective hardened layer depth is greater than the design value. This is the key to ensuring the wear resistance of the thread surface.
Third, verify the correlation analysis of the data
Outstanding quality control is not only content with the qualification of individual indicators, but also needs to pay attention to the correlation among parameters:
The positive correlation between hardness and strength: When the hardness test value deviates from the theoretical conversion range, it indicates that there may be abnormal material mixing or heat treatment.
The negative correlation between thread accuracy and fatigue life: For every 0.01mm increase in the pitch diameter deviation of the thread, the fatigue life may decrease by 15% to 20% under the same load.
The causal chain between metallographic structure and impact toughness: A bainite content exceeding 30% will significantly improve low-temperature impact performance, while reticular ferrite will lead to anisotropic fracture.
Conclusion
For key components like mantle nuts, establishing a complete verification system for thread accuracy and material strength is the technical cornerstone for ensuring the reliable operation of the equipment. It is suggested that the purchaser not only requires the supplier to provide test reports that comply with ASTM/ISO standards, but also should understand the engineering significance behind each test data. Only through scientific and rigorous verification methods can the quality of components be controlled from the source, providing a solid guarantee for the long-term stable operation of the equipment.
Post time: Nov-25-2025


